Windows 10 – SCCM Language Pack Integration
I’ve tried so many different ways to deploy Windows 10 clients in different languages and there was only one way working for me, I like to share with you. Our aim was to deploy Windows 10 clients in 28 different languages, so our itention was to deploy these clients in English and to deploy the language packs afterwards. We didn’t want a client with 27 language packs installed that must be maintained with every Windows 10 Feature Update. But we got a lot of Problems with the Windows 10 UI that sometimes didn’t changed the language as exspected or the time and date formats were set comletelly wrong. The only way I figured out was to deploy language packs by the following order.
- Install the language pack during the OS installation using the dism command dism.exe /norestart /online /add-package /packagepath:.\lp.cab
- Restart the computer
- Run a script executing the following command C:\Windows\System32\control.exe intl.cpl /f:”configuartion.xml”
- Restart the computer
Step 3 is neccessary to set the installed language pack as activated and to install the corresponding “Input Preferences”.
Create Package – “MS W10 1703 LanguagePack de-DE”
Lets start with building a deployment package including the german languagepack *.cab file, a PowerShell script for setup and *.xml file that is needed for configuration.
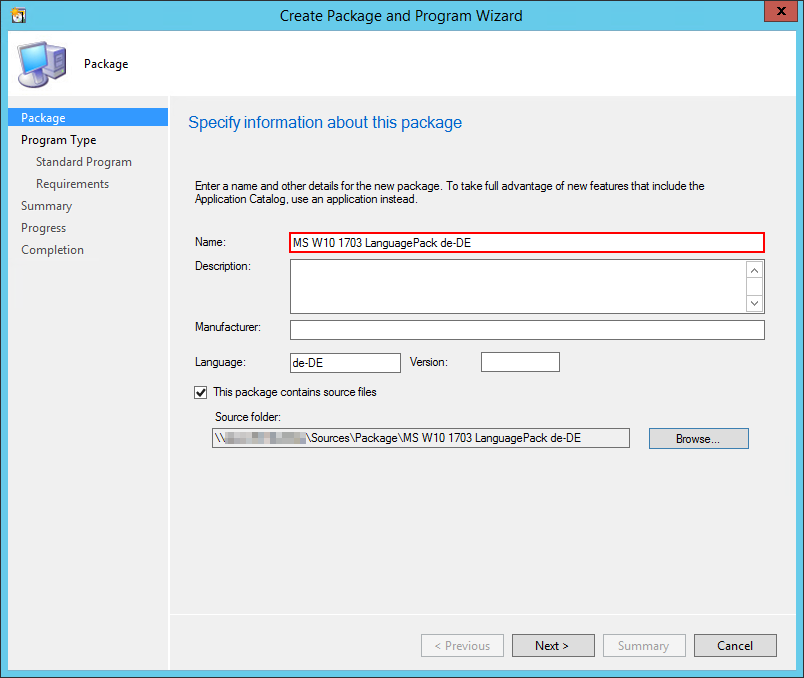
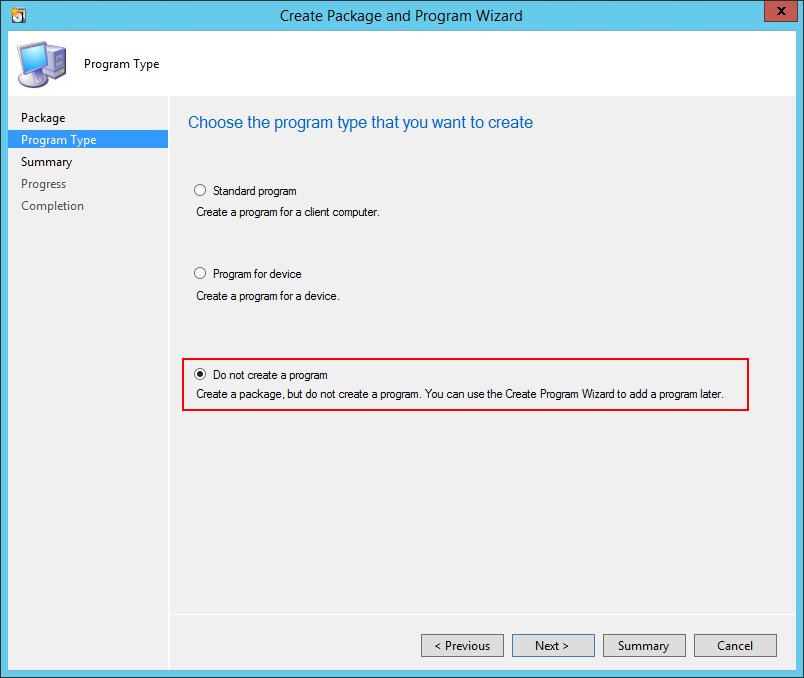
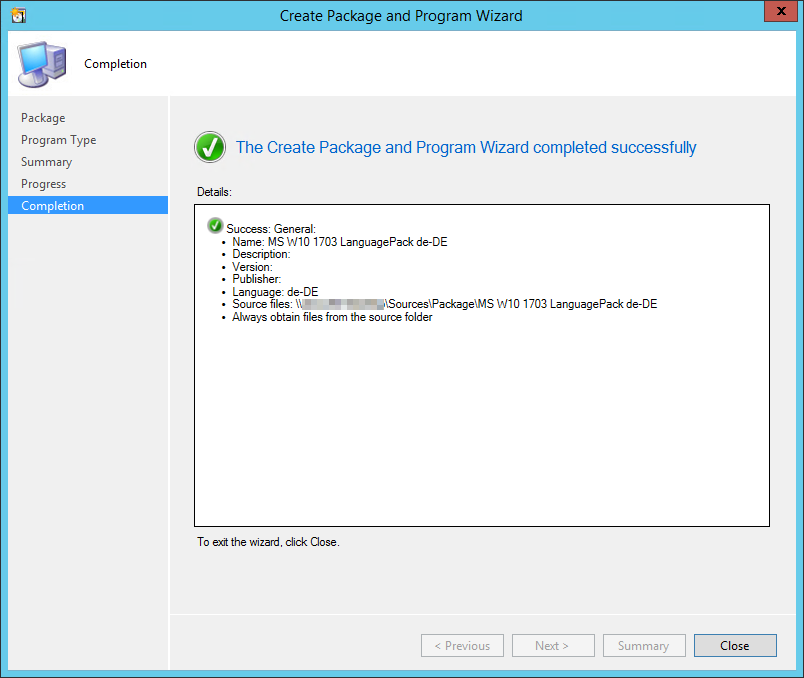
Create Package Content – “MS W10 1703 LanguagePack de-DE”
Our package will include the following files:

lp.cab
The “lp.cab” file is the official language pack provided by Microsoft. Download the file at Microsoft and rename it to “lp.cab”. Take care of downloading the correct file that is corresponding to your operating system version. Microsoft releases new cab files for every feature update. Windows 10 1607 needs different cab files compared to Windows 10 1703!
SCCM_SetLangPack.ps1
Create the ps1 file “SCCM_SetLangPack.ps1” to setup the German language as default language and to add the German keyboard input.
$LogFileLocation = "C:\Windows\W10_SCCMSetGerLangPack.log"

Start-Transcript -path $LogFileLocation -Force

function Get-ScriptName
{
	if ($hostinvocation -ne $null){$hostinvocation.MyCommand.Path}
	else{$script:MyInvocation.MyCommand.Path}
}

[string]$ScriptName = Get-ScriptName
[string]$ScriptDirectory = Split-Path $ScriptName

Write-Output "------------ Start Script  ------------"
Write-Output ""
Write-Output "------------------------------------"
Write-Output "Get language xml path"
Write-Output "------------------------------------"
Write-Output ""

$germanXML = $ScriptDirectory + "\de-DE.xml"

Write-Output $germanXML
Write-Output ""

Write-Output "------------------------------------"
Write-Output "Set german language xml as active"
Write-Output "------------------------------------"
Write-Output ""
Write-Output "Execute $env:SystemRoot\System32\control.exe intl.cpl,,/f:`"$germanXML`""

& $env:SystemRoot\System32\control.exe "intl.cpl,,/f:`"$germanXML`""

Write-Output ""
Write-Output "Start Sleep for 2 seconds"
start-sleep -seconds 2

Write-Output ""
Write-Output "------------- End Script  -------------"

Stop-Transcript
de-DE.xml
Create the xml file “de-DE.xml”. The PowerShell script “SCCM_SetLangPack.ps1” will call the xml file “de-DE.xml”.
<gs:GlobalizationServices xmlns:gs="urn:longhornGlobalizationUnattend">
<!--User List-->
<gs:UserList>
    <gs:User UserID="Current" CopySettingsToDefaultUserAcct="true" CopySettingsToSystemAcct="true"/>
</gs:UserList>
<!-- user locale -->
<gs:UserLocale>
    <gs:Locale Name="de-DE" SetAsCurrent="true"/>
</gs:UserLocale>
<!-- system locale -->
<gs:SystemLocale Name="de-DE"/>
<!-- GeoID -->
<gs:LocationPreferences>
    <gs:GeoID Value="94"/>
</gs:LocationPreferences>
<gs:MUILanguagePreferences>
	<gs:MUILanguage Value="de-DE"/>
	<gs:MUIFallback Value="en-US"/>
</gs:MUILanguagePreferences>
<!-- input preferences -->
<gs:InputPreferences>
    <!--de-DE-->
    <gs:InputLanguageID Action="add" ID="0407:00000407" Default="true"/>
    <!--en-US-->
    <gs:InputLanguageID Action="remove" ID="0409:00000409"/>
</gs:InputPreferences>
</gs:GlobalizationServices>
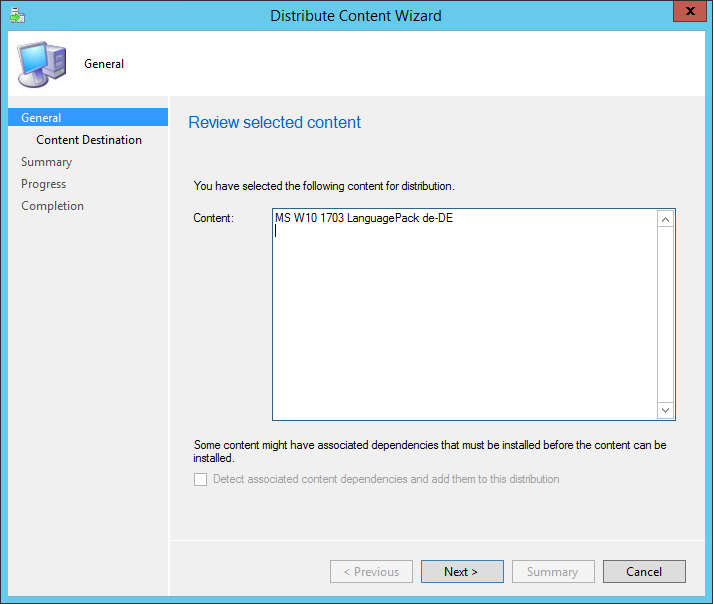
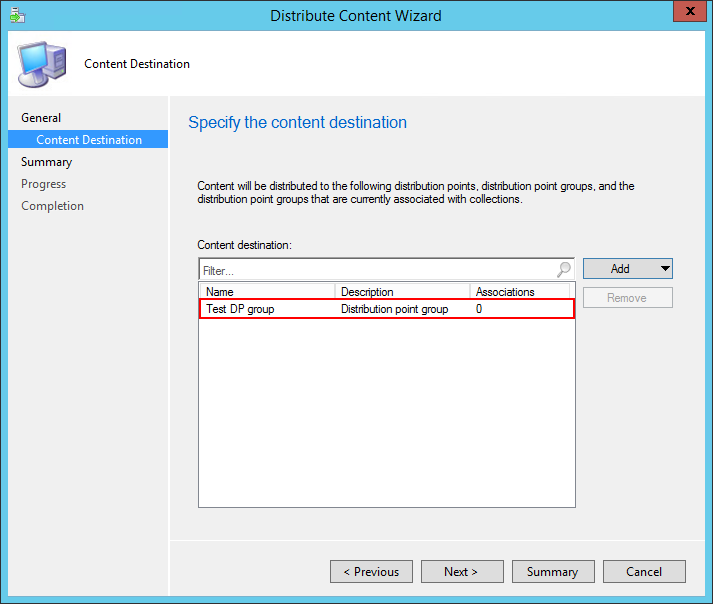
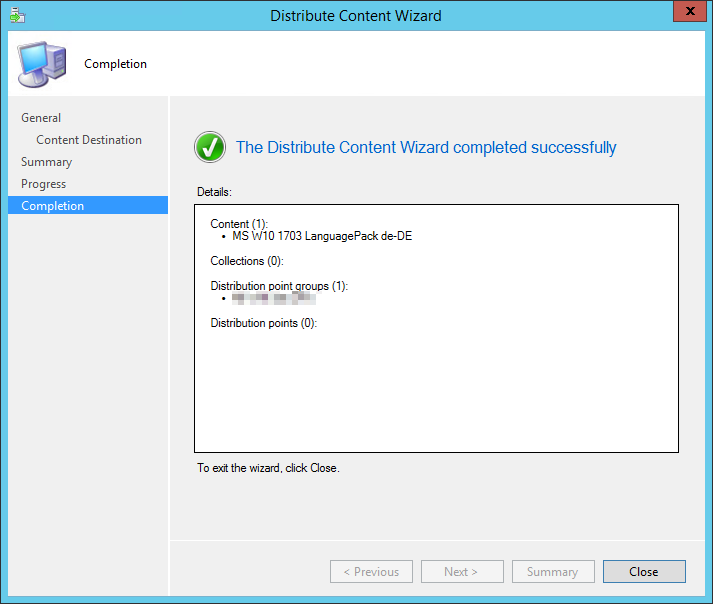
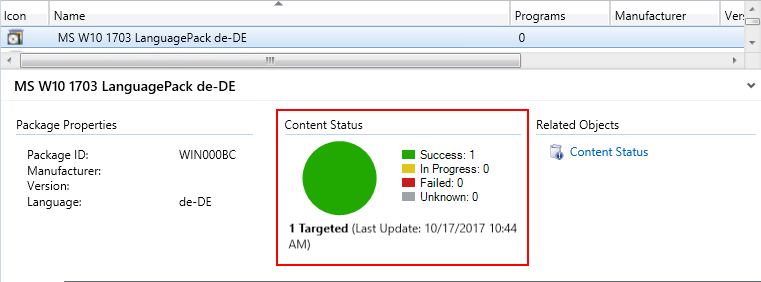
Distribute Package Content – “MS W10 1703 LanguagePack de-DE”
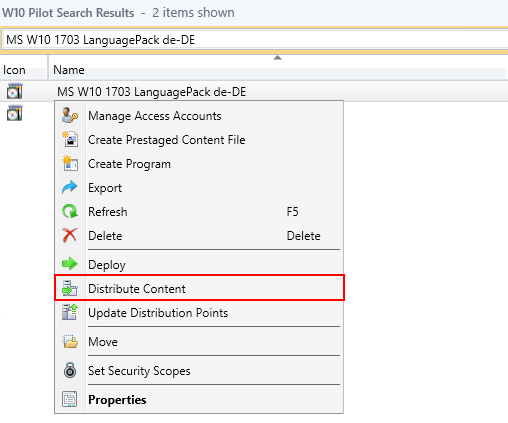
Edit Task Sequence
Get your Windows 10 deployment Task Sequence (TS) and add the following steps to your TS.
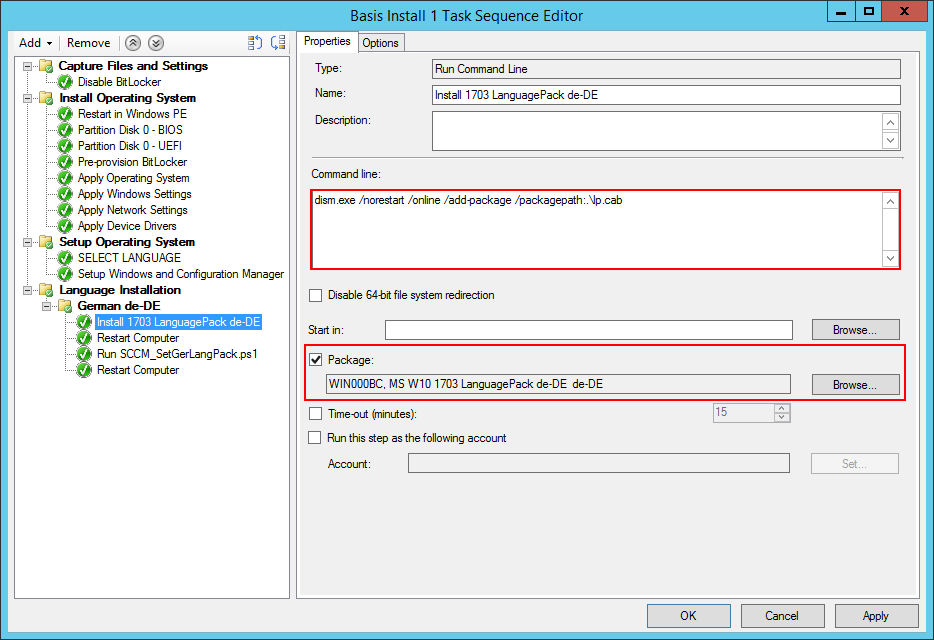
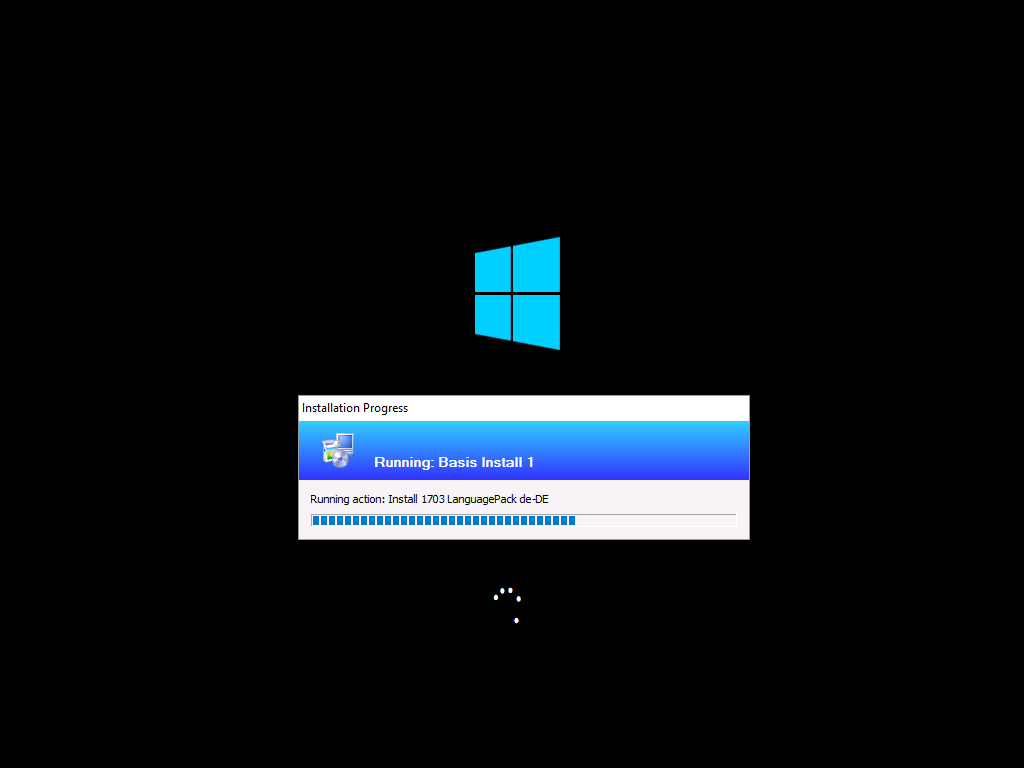
- Create the TS Step Install 1703 LanguagePack de-DE
- Add the command dism.exe /norestart /online /add-package /packagepath:.\lp.cab
- Select the above distributed package.
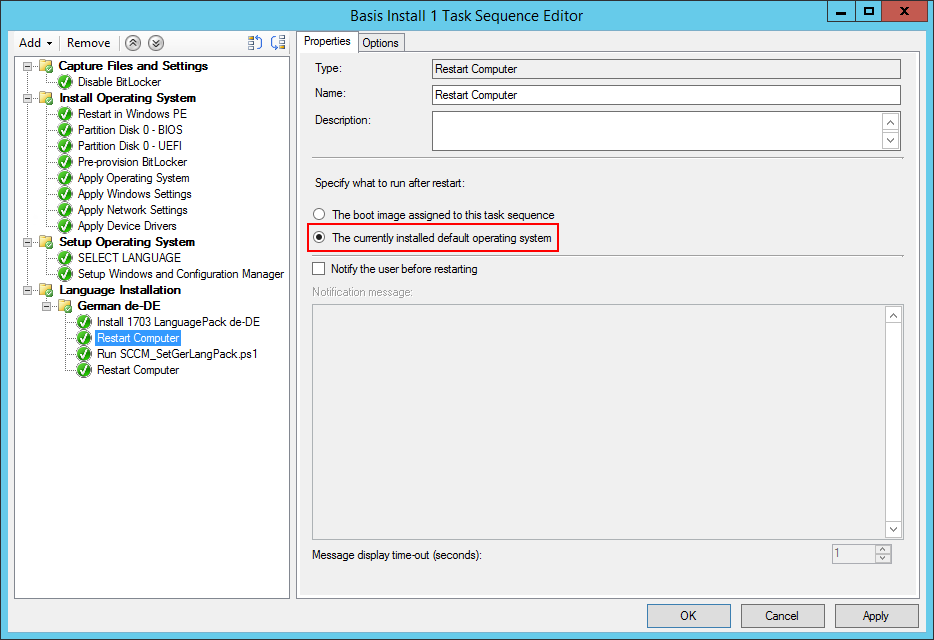
Create the TS Step Restart Computer
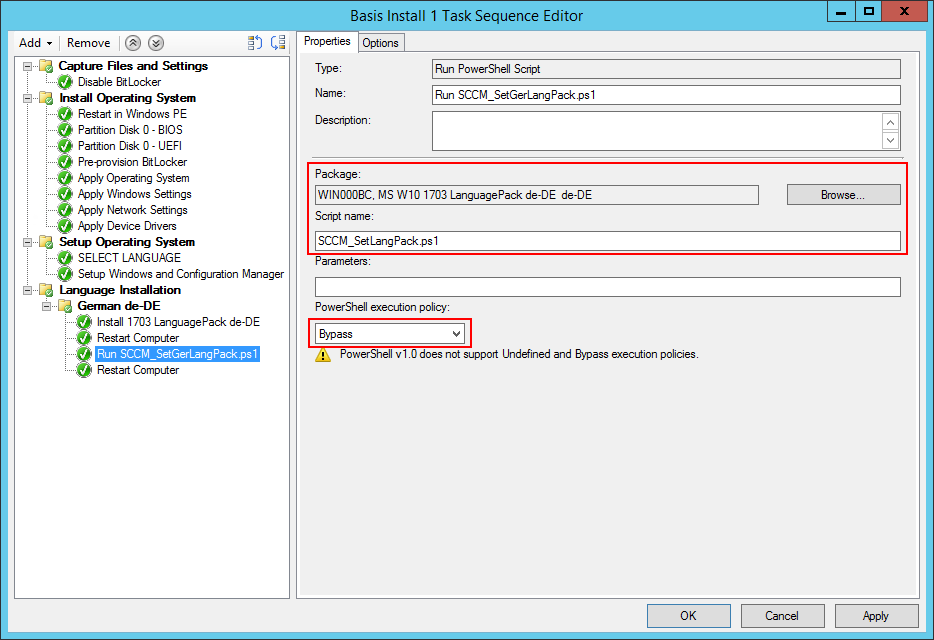
- Create the TS Step Run SCCM_SetLangPack.ps1
- Add the script name SCCM_SetLangPack.ps1
- Select Bypass as PowerShell execution policy
Create the TS Step Restart Computer
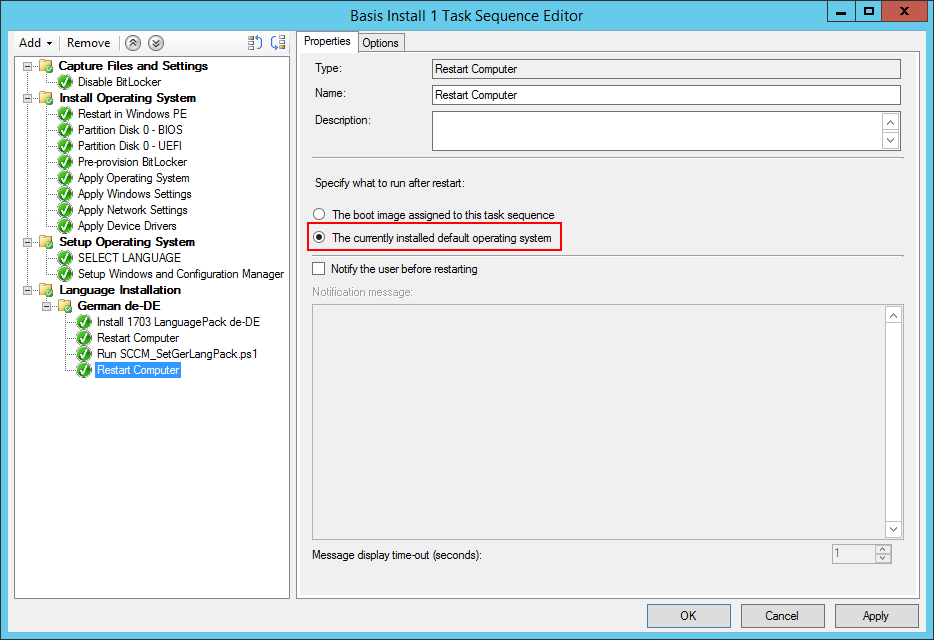
Result:
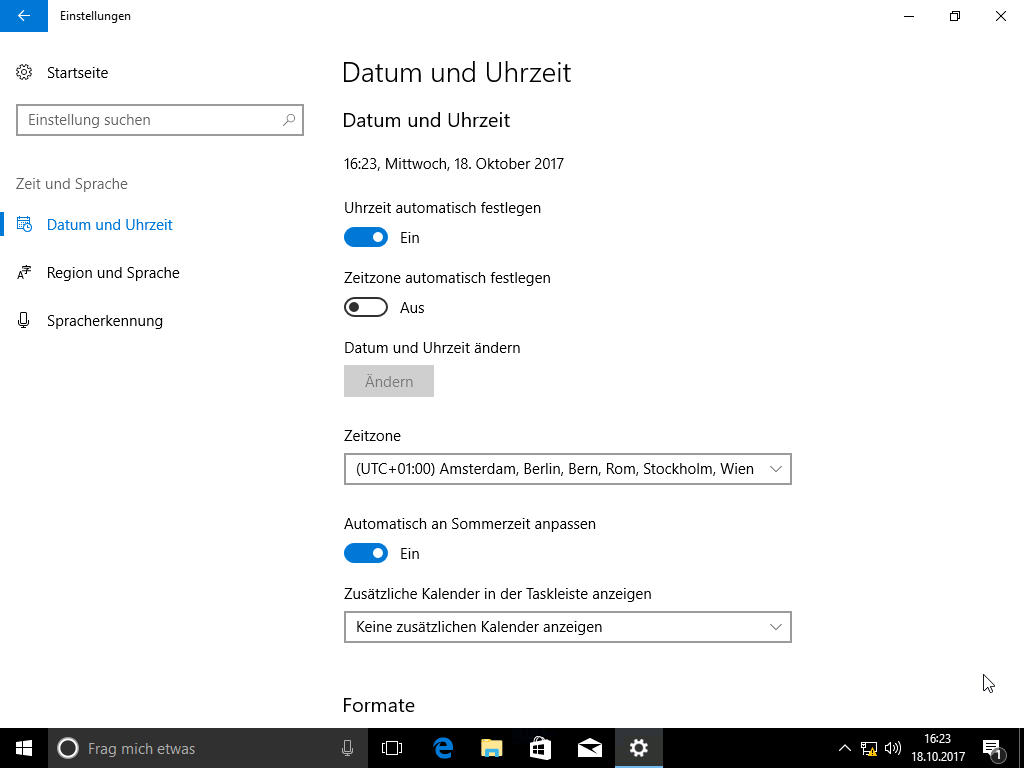
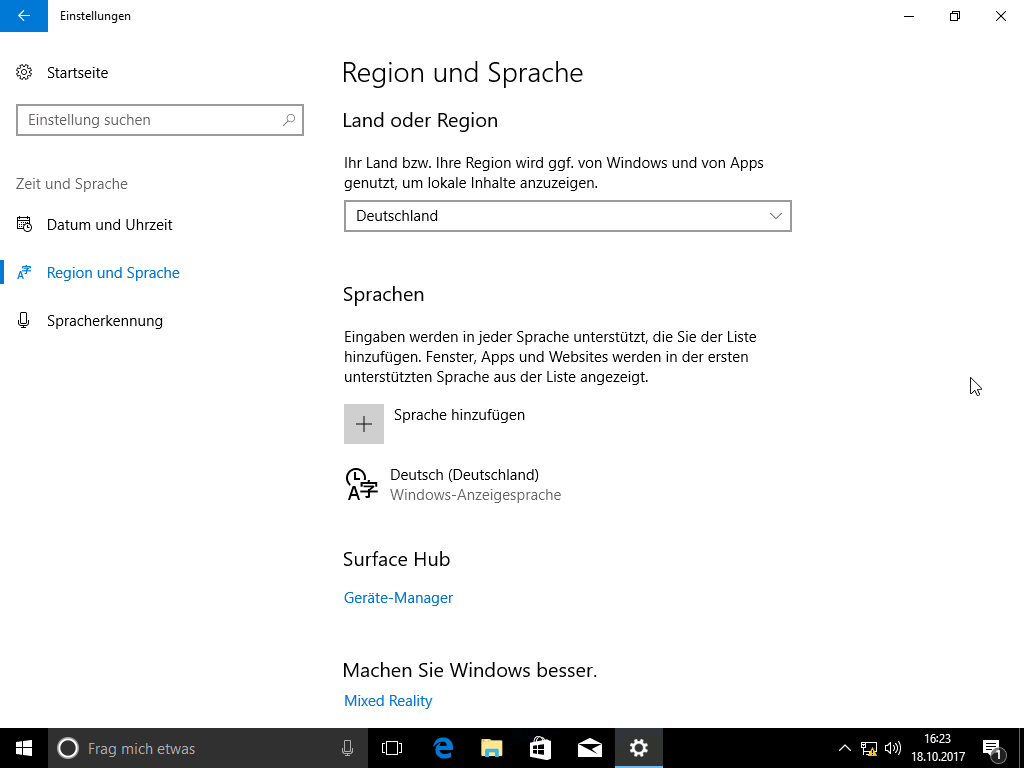
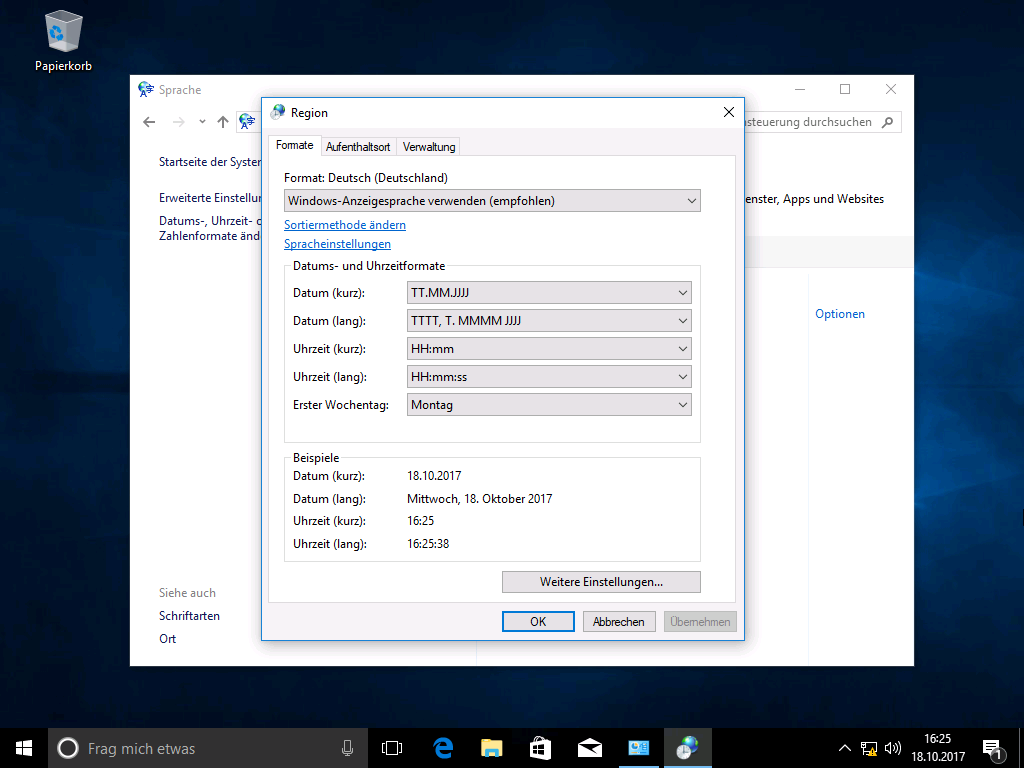
Your installed operating system will install the german language pack and setup the following configuration:
- Set language as default language for all users
- Set the system locale to “de-DE”
- Set the GEOID to “94”
- Set “en-US” as fallback language
- Add the German keyboard layout “0407:00000407”
- Remove the English keyboard layout “0409:00000409”
Now that we achived to install a language pack with correct system configuration it is time to add more than one language.
 Add Several Language Packs
First we do have to create a Deployment Package for for every language we want to be installed. Follow the instructions from the above tutorial to add the Czech language. In the end we should have the following packages ready for deployment.
- MS W10 1703 LanguagePack de-DE
- MS W10 1703 LanguagePack cs-CZ
- …
When it’s done we should extend our Task Sequence with the new language package.
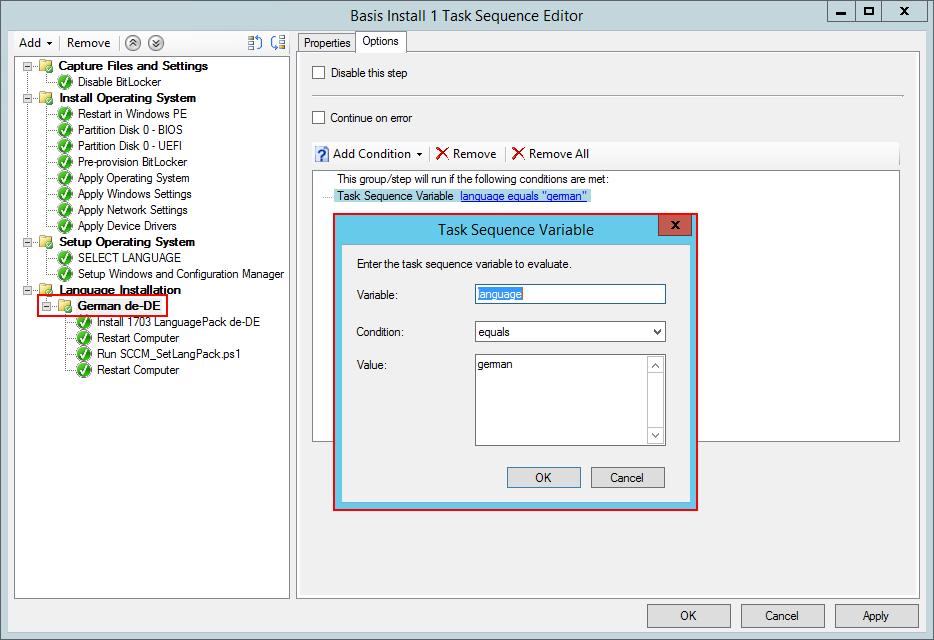
- Modify the group German de-DE .
- Add the condition Task Sequence Variable language equals “german” .
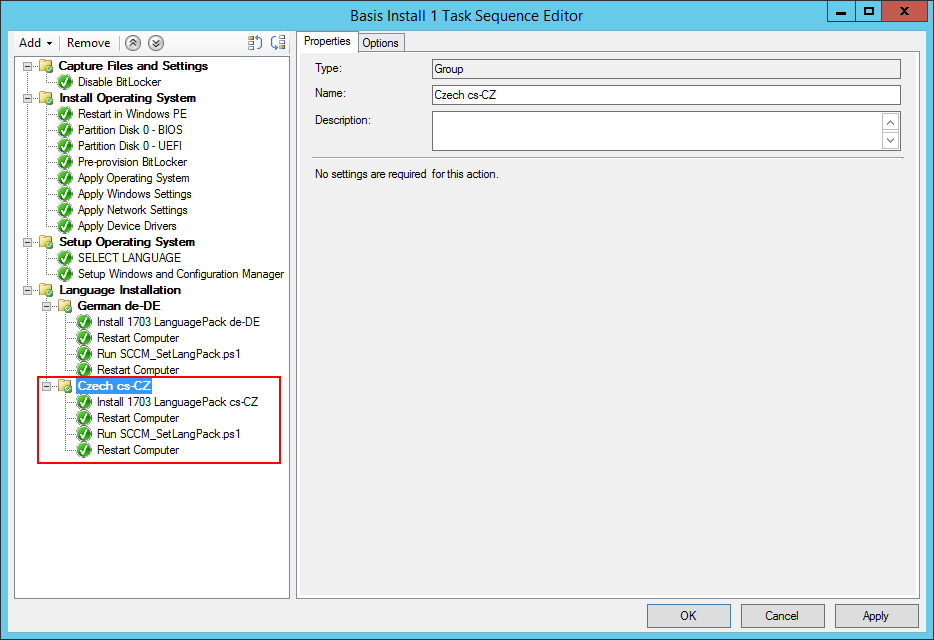
- Add the group Czech cs-CZ similar to the above tutorial.
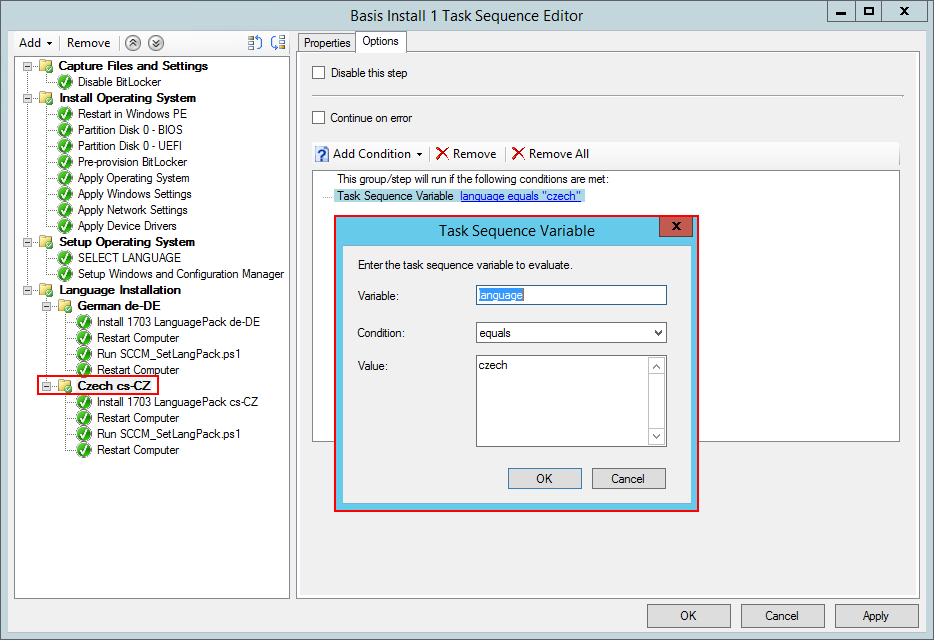
- Add the condition Task Sequence Variable language equals “czech” .
Add GUI to select Language Pack
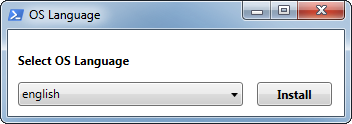
Now that we are able to install two different languages we have to tell our Task Sequence which language should be installed. Therefore we will implement a PowerShell script where the deployment technician can select the language pack corresponding to the region.
Step 1 – Create GUI Package
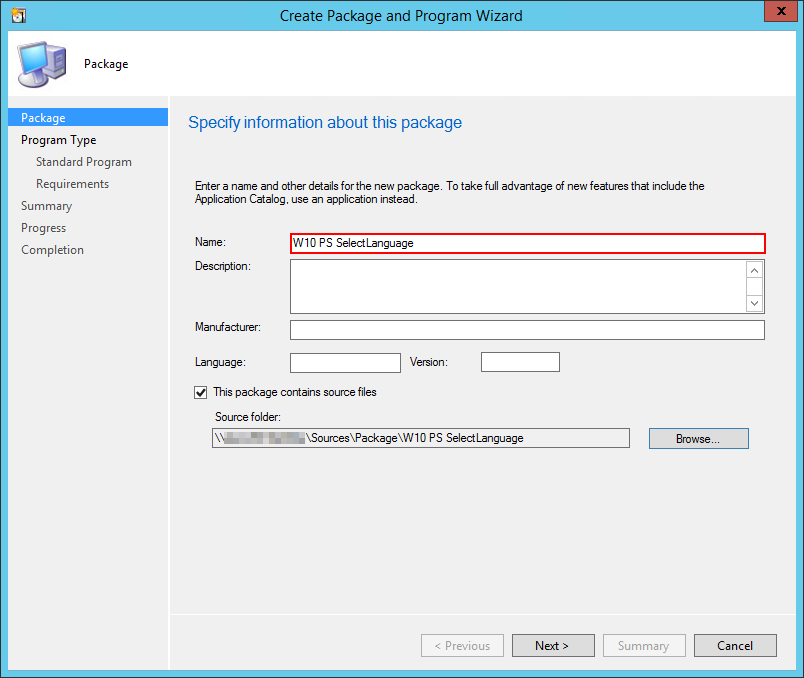
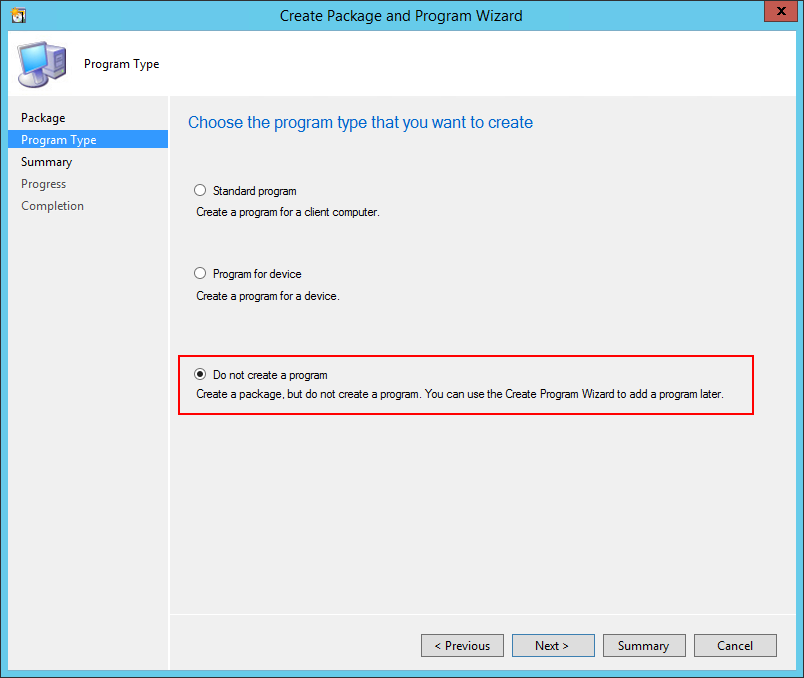
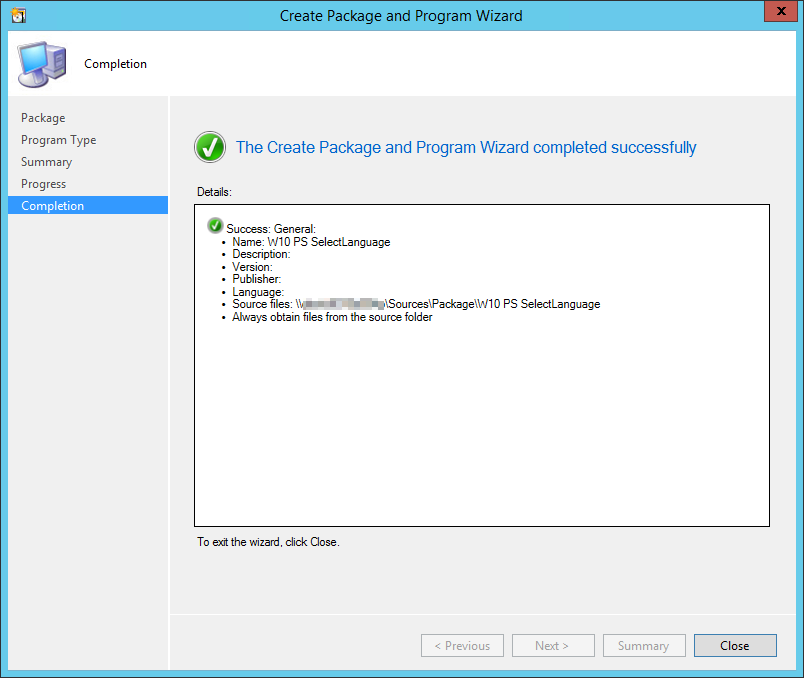
Step 2 – Create GUI Package Content
Our package will include the following file:

SCCM_SelectLanguagePack.ps1
Create the ps1 file “SCCM_SelectLanguagePack.ps1” with the following content. The file will automatically close the SCCM deployment GUI elements and open a language selection interface. I’ve explained in another post how these kind of PowerShell GUI elements are working. If you are interested take a look at PowerShell – How to build a GUI with Visual Studio.
#===========================================================================
# Close SCCM GUI Elements
#===========================================================================
$TSProgressUI = New-Object -COMObject Microsoft.SMS.TSProgressUI
$TSProgressUI.CloseProgressDialog()

#===========================================================================
# XAML Code
#===========================================================================
[void][System.Reflection.Assembly]::LoadWithPartialName('presentationframework')
[xml]$XAML = @'
<Window
    xmlns="http://schemas.microsoft.com/winfx/2006/xaml/presentation"
    xmlns:x="http://schemas.microsoft.com/winfx/2006/xaml"
    Title="OS Language" Height="124" Width="352" WindowStartupLocation="CenterScreen">
    <Grid>
        <ComboBox Name="comboBox" HorizontalAlignment="Left" Margin="10,52,0,0" VerticalAlignment="Top" Width="225" Height="24" IsReadOnly="True" SelectedIndex="0">
            <ListBoxItem Content="english" ToolTip="English only."/>
            <ListBoxItem Content="german" ToolTip="German and English display language will be available for end users. German will be selected as default language."/>
            <ListBoxItem Content="czech" ToolTip="Czech and English display language will be available for end users. Czech will be selected as default language."/>
        </ComboBox>
        <TextBlock Name="textBlock" HorizontalAlignment="Left" Margin="10,22,0,0" TextWrapping="Wrap" Text="Select OS Language" VerticalAlignment="Top" FontWeight="Bold"/>
        <Button Name="btnInstall" Content="Install" HorizontalAlignment="Left" Margin="249,52,0,0" VerticalAlignment="Top" Width="75" Height="24" FontWeight="Bold"/>
    </Grid>
</Window>
'@

#===========================================================================
#Read XAML
#===========================================================================
$reader=(New-Object System.Xml.XmlNodeReader $xaml)
try{$Form=[Windows.Markup.XamlReader]::Load( $reader )}
catch{Write-Host "Unable to load Windows.Markup.XamlReader."; exit}

#===========================================================================
# Store Form Objects In PowerShell
#===========================================================================
$xaml.SelectNodes("//*[@Name]") | %{Set-Variable -Name ($_.Name) -Value $Form.FindName($_.Name)}

#===========================================================================
# Set Standard TS Variable language to English
#===========================================================================
$tsenv = New-Object -COMObject Microsoft.SMS.TSEnvironment
$tsenv.Value("language") = "English"

#===========================================================================
# Add events to Form Objects
#===========================================================================
$comboBox.Add_SelectionChanged({
    [string]$selection = $comboBox.SelectedItem
    $language = $selection.Substring(37)

    Write-Host $language

	$tsenv.Value("language") = $language
})

$btnInstall.Add_Click({
    $form.Close()
})

#===========================================================================
# Show the form
#===========================================================================
$Form.ShowDialog() #| out-null
Distribute the GUI Package content to you Distribution Servers!
Step 3 – Edit Task Sequence for GUI Support
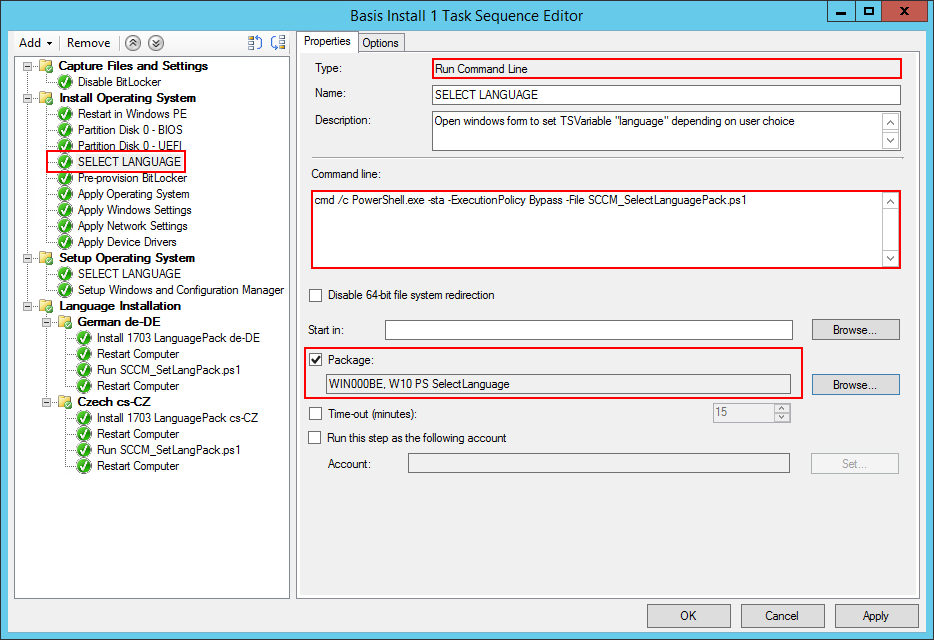
- Create the TS Step SELECT LANGUAGE as Run Command Line
- Add the command cmd /c PowerShell.exe -sta -ExecutionPolicy Bypass -File SCCM_SelectLanguagePack.ps1
- Select the above distributed package.
 Congratulations! You are done!
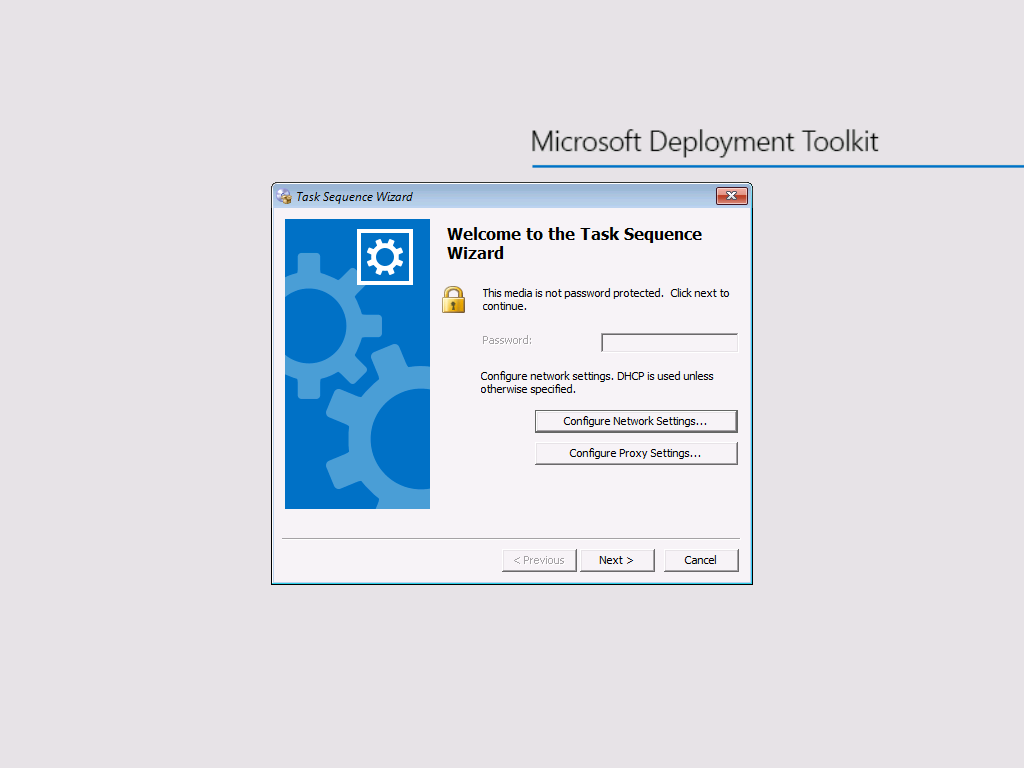
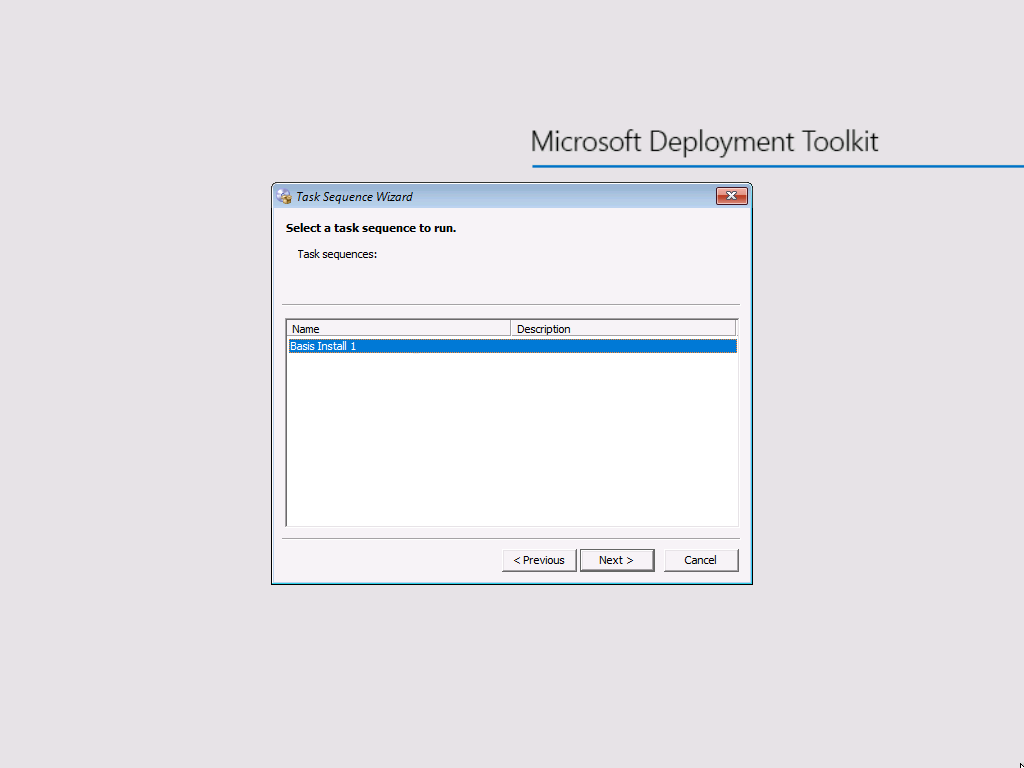
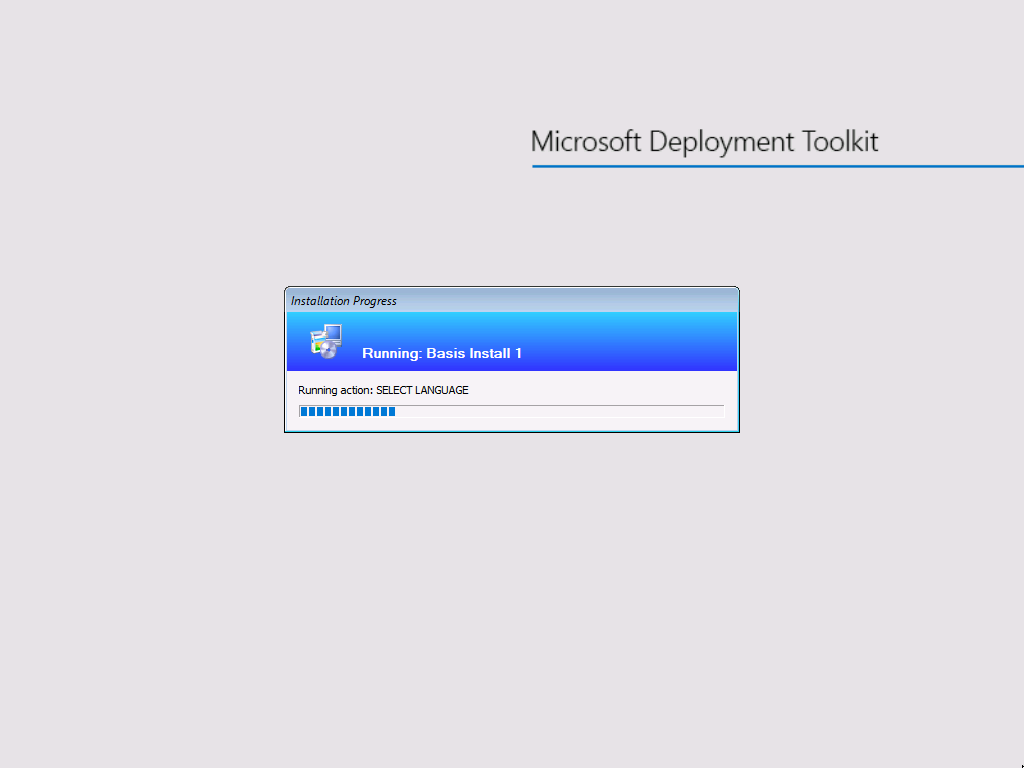
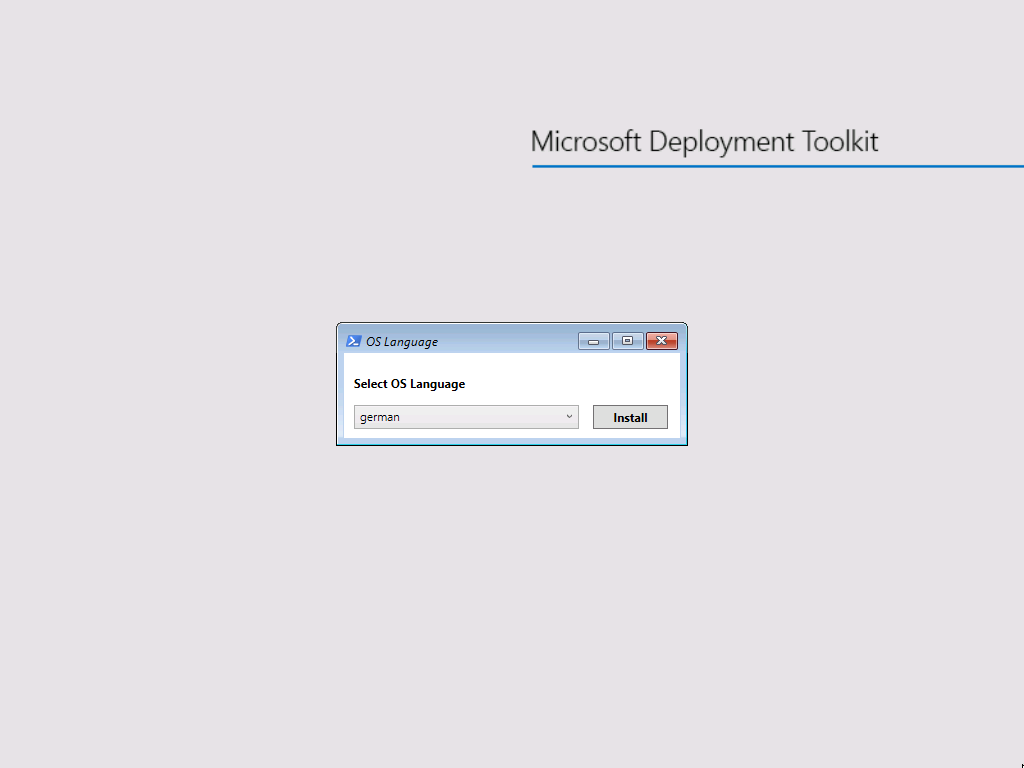
Tested with Windows 10 (SAC)
- 1703
- 1709
